
Posted by admin , on Jun, 2017
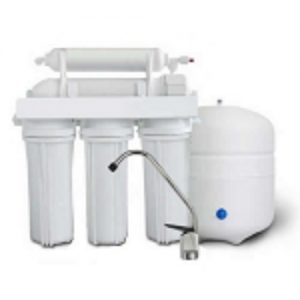
Just bought yourself a new water filter system and want to try your hand at installing it on your own? Here are a few helpful steps to see you through the process:
1. Get Teflon tape and then wrap it around the treads of the pipe fittings. John Guest fittings are a sound choice so those should be first on your list of fitting options.
2. Screw the fittings into the head cap. Use an adjustable wrench and turn until you’re satisfied that the fit is tight.
3. Turn off your water supply. Do this before you start installing the filter to avoid any accidents and problems.
4. Turn on a faucet. This will relieve pressure in the pipeline which, if left unattended, could damage the pipes and lead to leaks. That’s the last thing you want to deal with at this point.
5. Find the right spot for the filter, says Planitdyi. Pick one that’s accessible for future inspections and repairs.
6. Check the pipes for any leaks or slacks. Use John Guest fittings when needed to make sure the fit is tight and secure.
7. Cut out a section of the pipe.
8. Sand the end the burrs off the end of the fixed pipe. Insert the push fitting on one side of the filter unit. Slide it right into the pipe.
9. Cut and sand about 3 to 4 inches of pipe then push that into the slip joint fittings.
10. Cut the pipe with your handy tube cutter, sand the burrs and push the slip joint into the pipe. Then press the disconnect clip right against the release collar that’s on the slip end of the fitting. Slide the fitting along onto the other pipe.
11. Install the filter into the container and turn the water supply back on.
With these steps of detailed instructions, you should be good to go.

